First off, I am so excited to announce that I completed a 12-week pattern writing course taught by Amy Ellis of Amy's Creative Side. During the course, we learned how to calculate fabric requirements using industry standards, writing cut lists and instructions, pattern layouts and ... read more
- patterns & tutorials
- Page 1 of 1 ( posts )
You can visit my past posts during the month of March for instructions on how to make this quilt. They will remain up for a few months but I will eventually take them down and publish the ...
read more
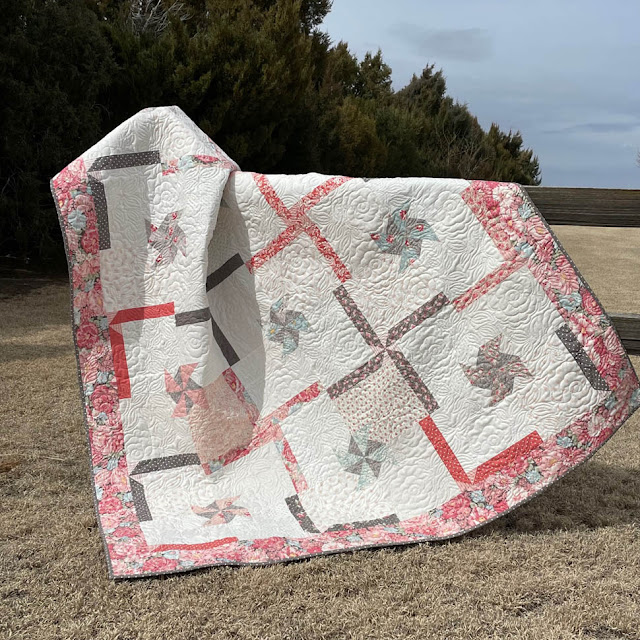
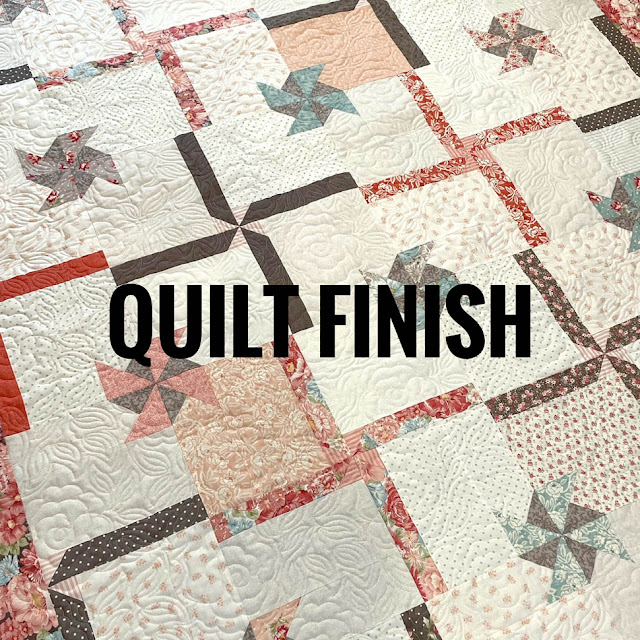
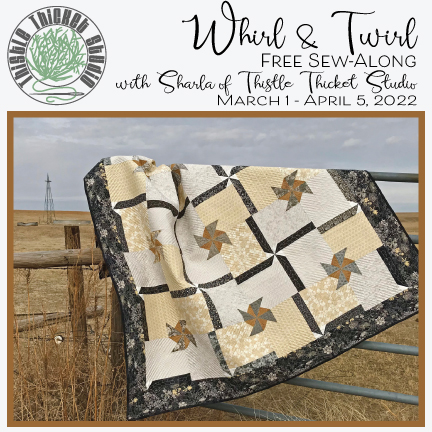
Can you believe we have reached the end of the Whirl & Twirl Sew-Along?! Where did March go? Today we’re going to talk about finishing our quilts.
Backing
Trim the selvedge edges from the two backing rectangle pieces. Sew the two 72” x WOF backing rectangles together along the selvedge side. Backing should measure 72” x 86” (approximately). I love a scrappy back so I used my leftover layer cake squares and border strips and sewed a pieced stripe in between the backing pieces.
Quilting
Layer your quilt top, batting & backing. Quilt as desired. I machine quilt my quilts on ... read more
WooHoo! We are on the downhill slide! Today I’m sharing the instructions to assemble your quilt top. Here we go…
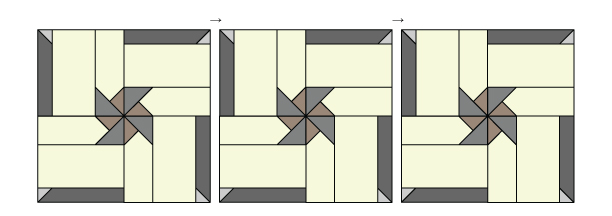
Step 1:Arrange four blocks into a square with the large pinwheels in the center and blades on the outside edge. Sew two blocks together to make a row, then sew two rows together to make a large block. Press seams open. Repeat for a total of 12 large blocks.This week, we will be sewing our blocks. Yay!!! But before we start with actual sewing, I thought I'd share some sewing prep information. To help organize the sewing process, I used a chart to identify the placement of the background, blade & large pinwheel fabrics to insure that:
1. Each group of four blocks had a single block using each of the four background fabrics.
2. Each group of four blades that meet to create a small pinwheel used the same fabrics for the blades.
3. Each group of large pinwheels used the same fabric for the pinwheels.
I ...
read more
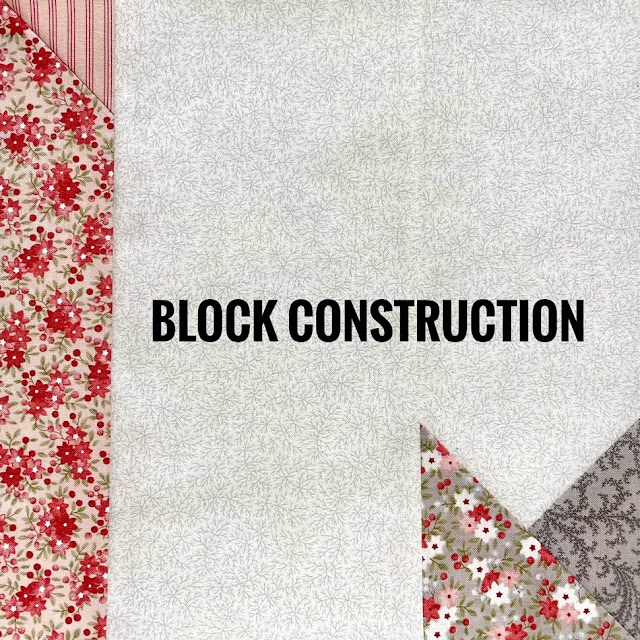
Ready to sew your blocks for the Whirl & Twirl Sew-Along? Here we go!
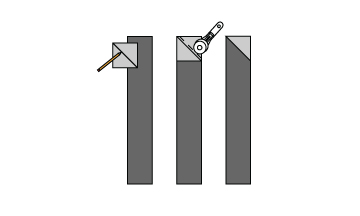
Blade: Draw a diagonal line on the back of a 2” light fabric square (blade pinwheel). With RST, layer the 2” square on top of the end of the 2” x 9.5” dark rectangle (blade) as shown. Sew on the line, trim seam allowance to ¼” and press toward pinwheel fabric.
Large Pinwheel Shadow:Draw a diagonal line on the back of a 3.5” medium solid fabric square (large pinwheel shadow). With RST, layer the square on top of the 3.5” x 9.5 ...
read moreLayer Cake Fabric Cutting
Let's start with the layer cake! Yum, I love cake! Especially anything chocolate - and Moda! What's your favorite cake?
Separate your layer cake squares into the following:
- 12 dark-valued squares
- 12 medium-valued squares
- 2 light-valued squares. They should contrast with the background fabrics.
From each of ...
read moreToday is the day! We're kicking off the Whirl & Twirl Sew-Along with fabric selection. So hit your stash or hit the store to find your favorite layer cake and coordinating fabrics. Because I live in a rural area and I know how hard it can be to get fabric in a timely matter, I'm allowing everyone a week for this first step.
You will need:
- 1 layer cake
- 7/8 yard each of 4 low volume prints for background
- 1/2 yard medium solid (or reads as a solid) fabric for large pinwheels
- 1 yard fabric for border ...
I'm excited to share this quilt that I designed using a layer cake and extra yardage for the background and border. I'll be sharing all the details and instructions on how to make this quilt on my social media platforms, so be sure to follow Thistle Thicket Studio on Facebook and/or @thistlethicketstudio on Instagram!
The schedule for the ...
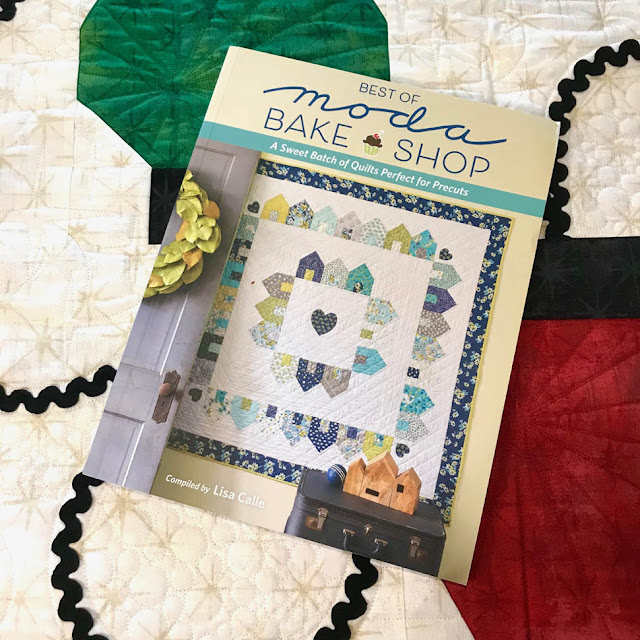
read moreThe book features 12 quilts made from layer cakes. My "Dayna" quilt uses a Happy Days layer cake by Sherri and Chelsi for Moda Fabrics, but you can use any layer cake of your choosing. You can still pick up a Happy Days layer cake from ...
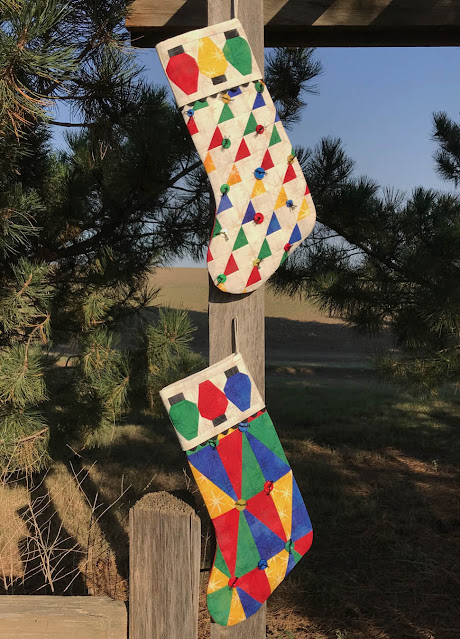
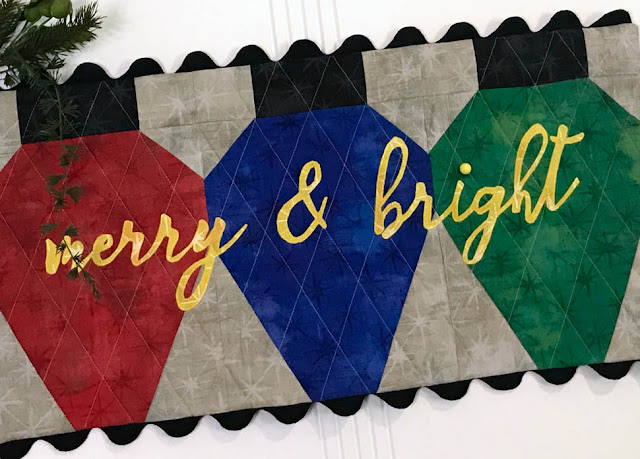
read moreIt's Friday again and I'm back to share the final "A Lightbulb Moment" bonus project with ya'll today. No Christmas would be complete without stockings hung by the fire! So here are two versions of my "A Lightbulb Moment" Stockings using the leftover scraps from making the large lightbulb blocks in my other projects.
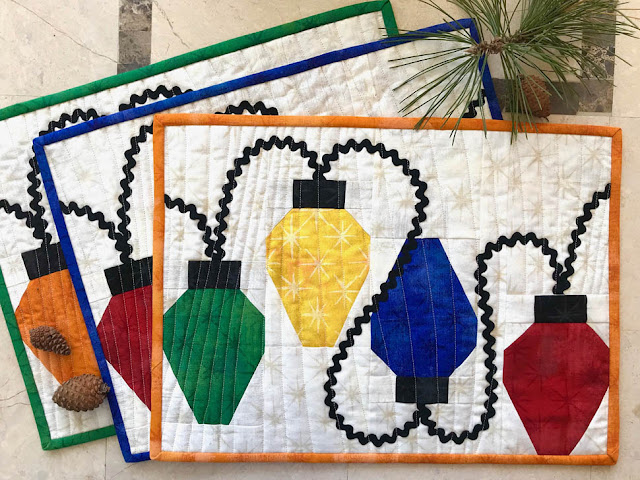
Howdy! I'm back to share another "A Lightbulb Moment" project with ya'll today. You can't celebrate the holidays without a decked out table and you can't have a decked out table without placemats! So, to go with the table runner that I shared a while back (can you believe almost 2 months ago?!), here is the "A Lightbulb Moment Placemat"....
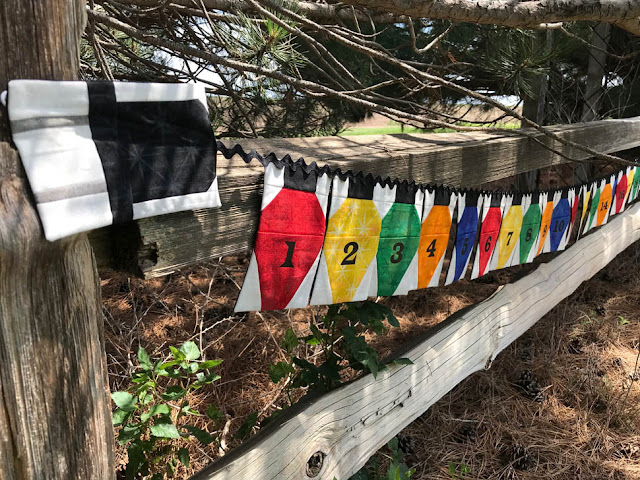
I think these placemats are so fun and feature a pocket for silverware and a napkin. I decided to mix up the colors of my lightbulbs and binding on each placemat to make them more festive ... read moreOh My Goodness!!! Where has the past three weeks gone?! I meant to get another "A Lightbulb Moment" pattern posted long before now but didn't have the time to finish writing the pattern. Better late than never, right? I shared photos of this advent calendar bunting a few weeks ago on IG but now I'm sharing them here along with the free pattern. YAY!!!
This advent calendar was so fun to make and I can't wait until the holidays so I can hang it and fill each pocket with little surprises for my grandsons. Since they won ...
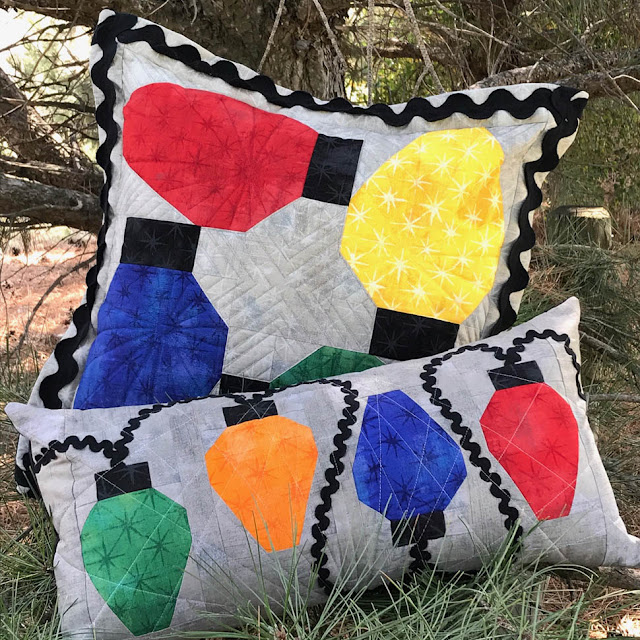
read moreYay! Yesterday was my birthday and today is my turn on the Best of Moda Bake Shop Pillow Parade so let's celebrate with not one, but TWO, free pillow patterns featuring my lightbulb block from the quilt "A Lightbulb Moment"!!!
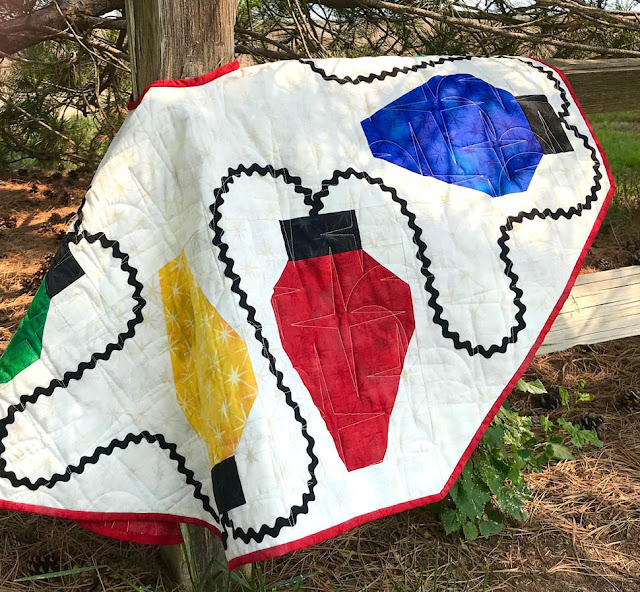
The two pillows would look so cute on a sofa during the holidays and, of course, will coordinate with the "A Lightbulb Moment" quilt featured in the Best of Moda Bake Shop book. You'll need the book for the directions on how to make the lightbulb block which is available on Amazon or at your local quilt shop ...
read moreAnother week has flown by! I spent this week putting the finishing details on my "A Lightbulb Moment" bonus projects and gave a trunk show at my quilt guild. It was fun to finally share what I have been working on with the group. Even though all the projects are finished, I am still writing and putting on the finishing touches on the patterns for some of the projects. So, my plans of posting this project on Friday went out the window but I'm finally finished and ready to share my "A Lightbulb Moment" Tree Skirt pattern!
This tree ...
read moreIt's FriYay! I thought I'd pop in and share another one of my "A Lightbulb Moment" bonus patterns in time for your weekend sewing. This week I'm sharing how to make an oven mitt/hot pad featuring the lightbulb block from my "A Lightbulb Moment" quilt featured in the new "Best of Moda Bake Shop" book now available in stores and online.
This is a double oven mitt which can also do double duty as a small table runner-style hot pad because it has Insul-Bright to protect your hands and surfaces from heat, plus a layer of ...
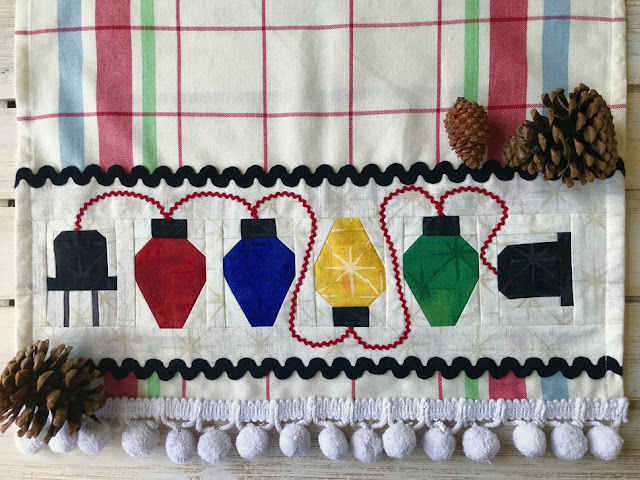
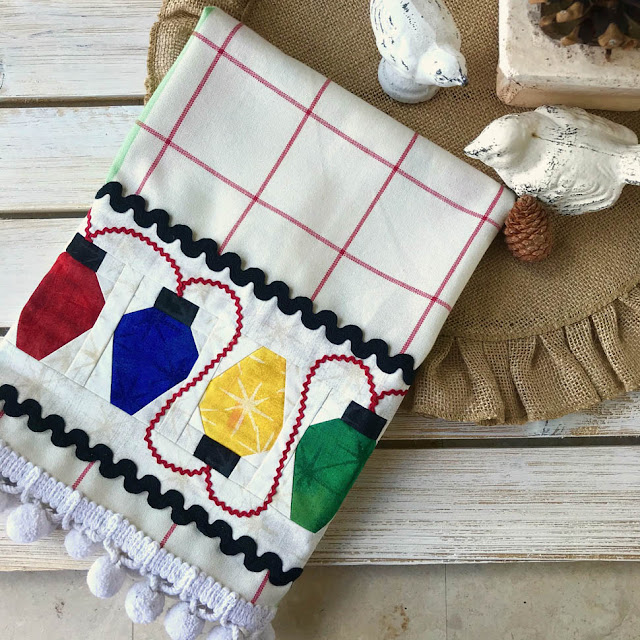
read moreI had every intention of saving this post until the end of the week but I finished the pattern and couldn't wait to share! Here's the latest bonus pattern for my series of "A Lightbulb Moment" projects. My quilt pattern called "A Lightbulb Moment" is one of 15 projects featured in the new "Best of Moda Bake Shop" book now available in stores and online.
This week, I reduced the pattern for the blocks 75% to make mini blocks to decorate a tea towel. Aren't those little lightbulbs so cute!
I used red baby rick rack for ... read more
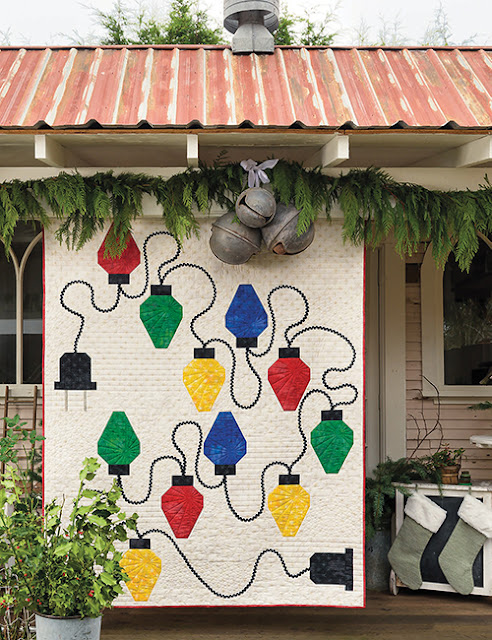
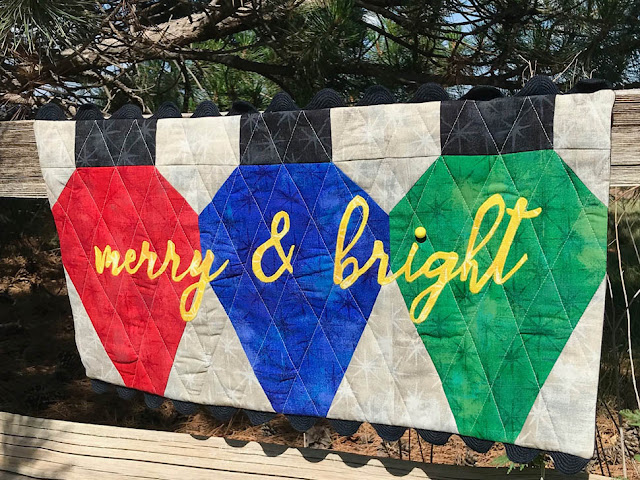
Yay! It's the weekend! Let's celebrate with another lightbulb block project. This block is featured in the quilt "A Lightbulb Moment" in the new "Best of Moda Bake Shop" book now available at your local quilt shop (or online at Martingale or Amazon). I'm sharing different projects using the lightbulb block throughout the summer, so be sure to pick up your copy of the book so you can sew along with me on all these extra bonus projects!
This week, the project is "A Lightbulb Moment Wallhanging".
This ... read more
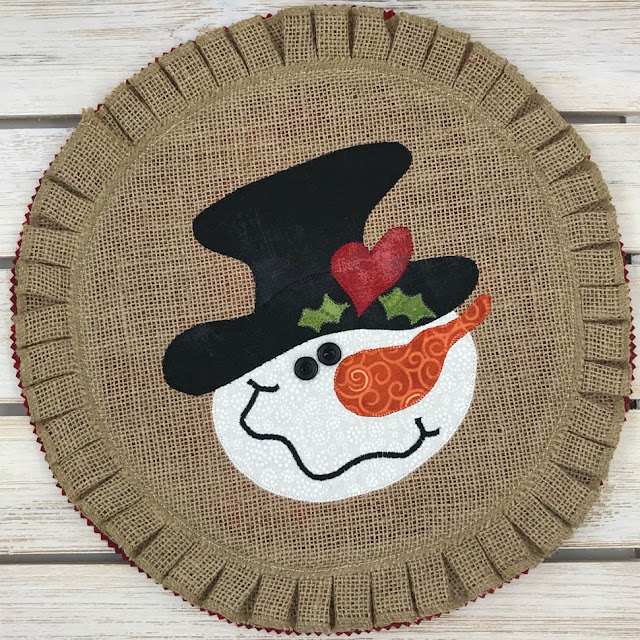
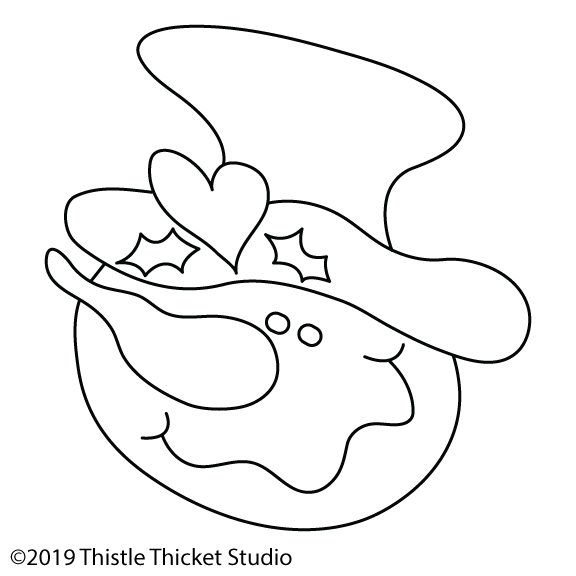
After looking online for a simple snowman or Santa clipart and not finding what I wanted, I decided to draw my own and Stan the Snowman was born. I sketched him on paper then scanned him into Adobe Illustrator and redrew him with the pen tool to create a pattern that I could ... read more
- patterns & tutorials
- Page 1 of 1 ( 20 posts )


